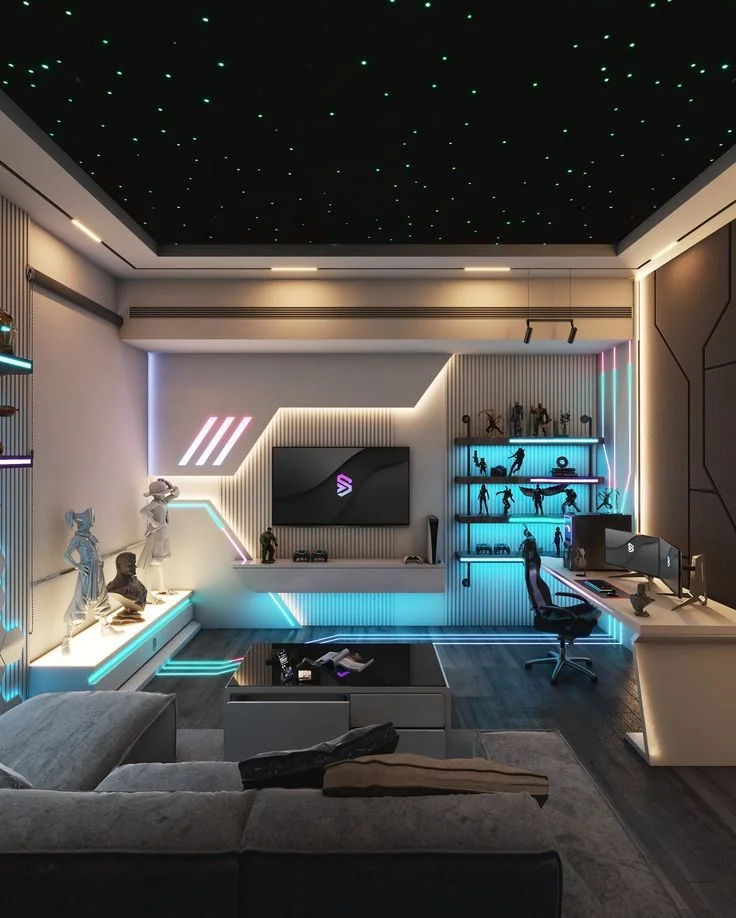
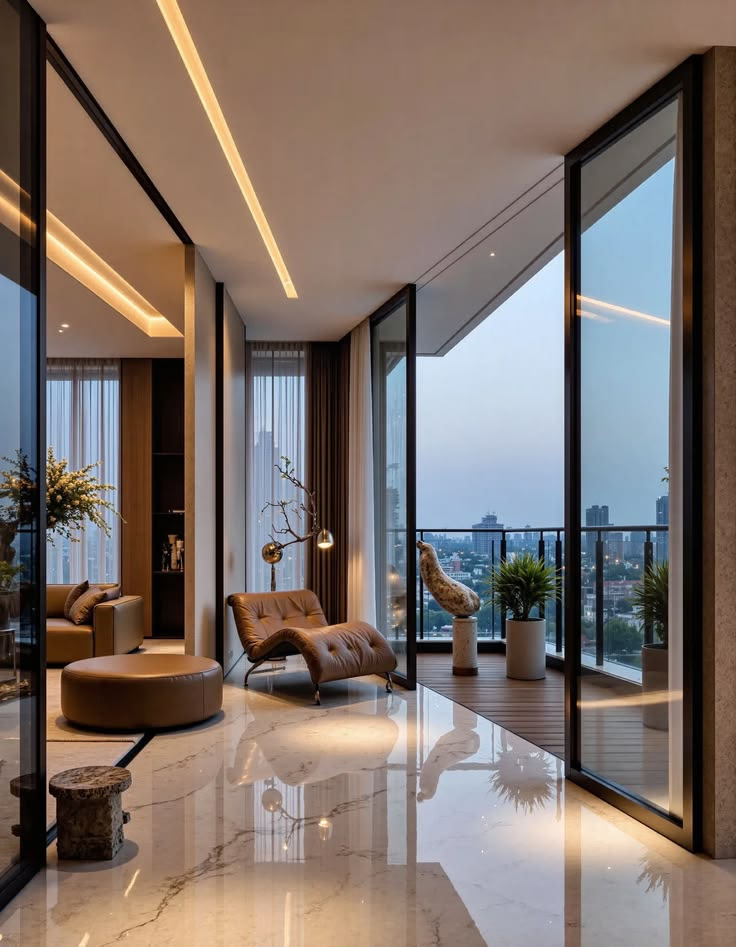
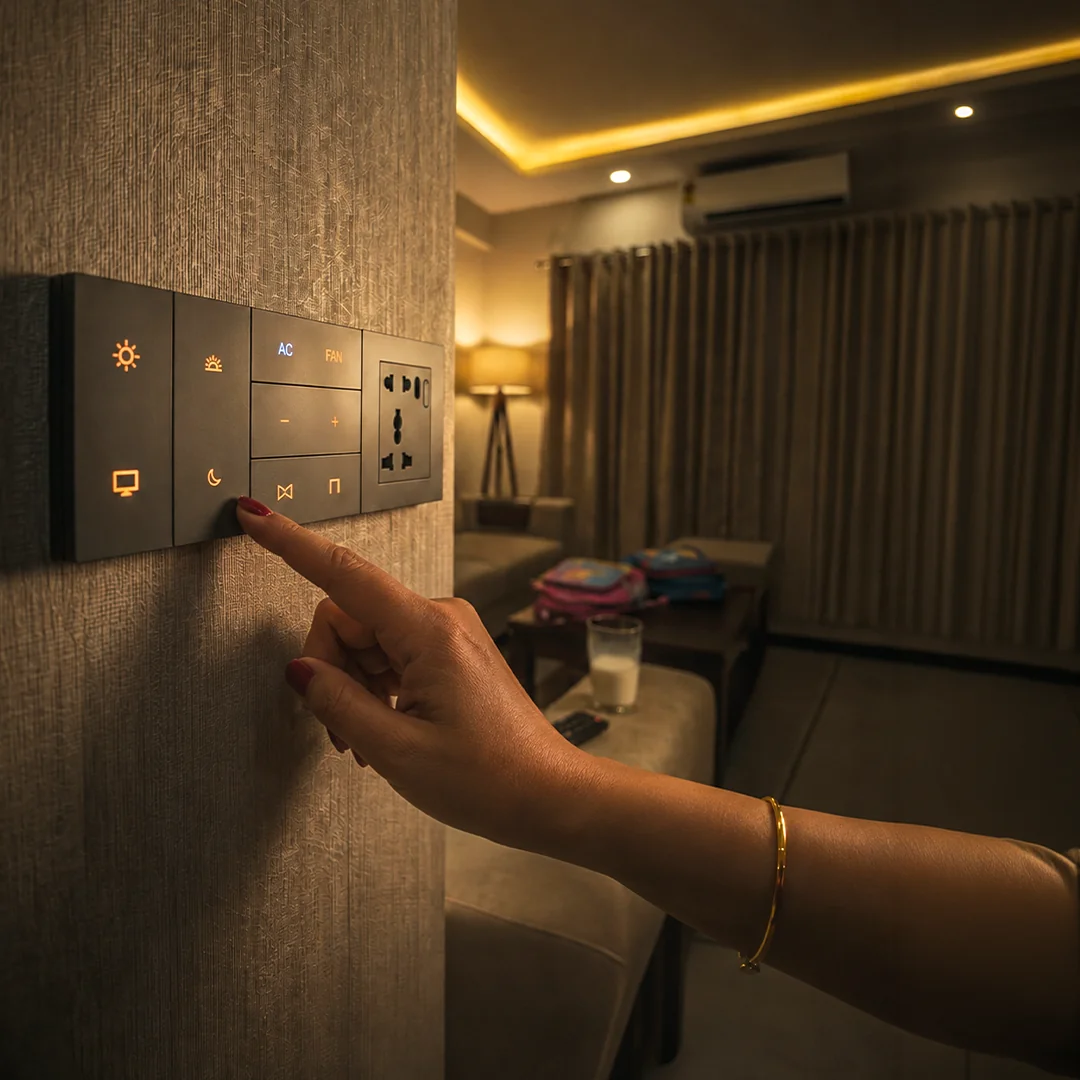
What Is Cove Lighting in a False Ceiling? A Mumbai Guide
Almost every decision that makes cove lighting good or disappointing is made before the ceiling is closed, by people talking about carpentry rather than light.
Cove lighting is an LED strip hidden inside a recess in a false ceiling, washing light across the ceiling rather than down into the room. In a Mumbai living room the complete lighting layer, cove included, is around ₹65,000.
That number is the easy part. The harder part is that cove lighting is designed by three different people who rarely speak to each other: the interior designer draws the ceiling, the carpenter builds the recess, and the electrician wires whatever is left. The decision that determines whether the result is any good, whether each cove circuit can be dimmed and its colour temperature changed, belongs to none of them and usually gets made by default.
This guide covers what cove lighting actually is, how it differs from profile and COB lighting, what it costs, how many drivers a run needs, and the mistakes that are expensive to undo.
What is cove lighting, and what is it for?
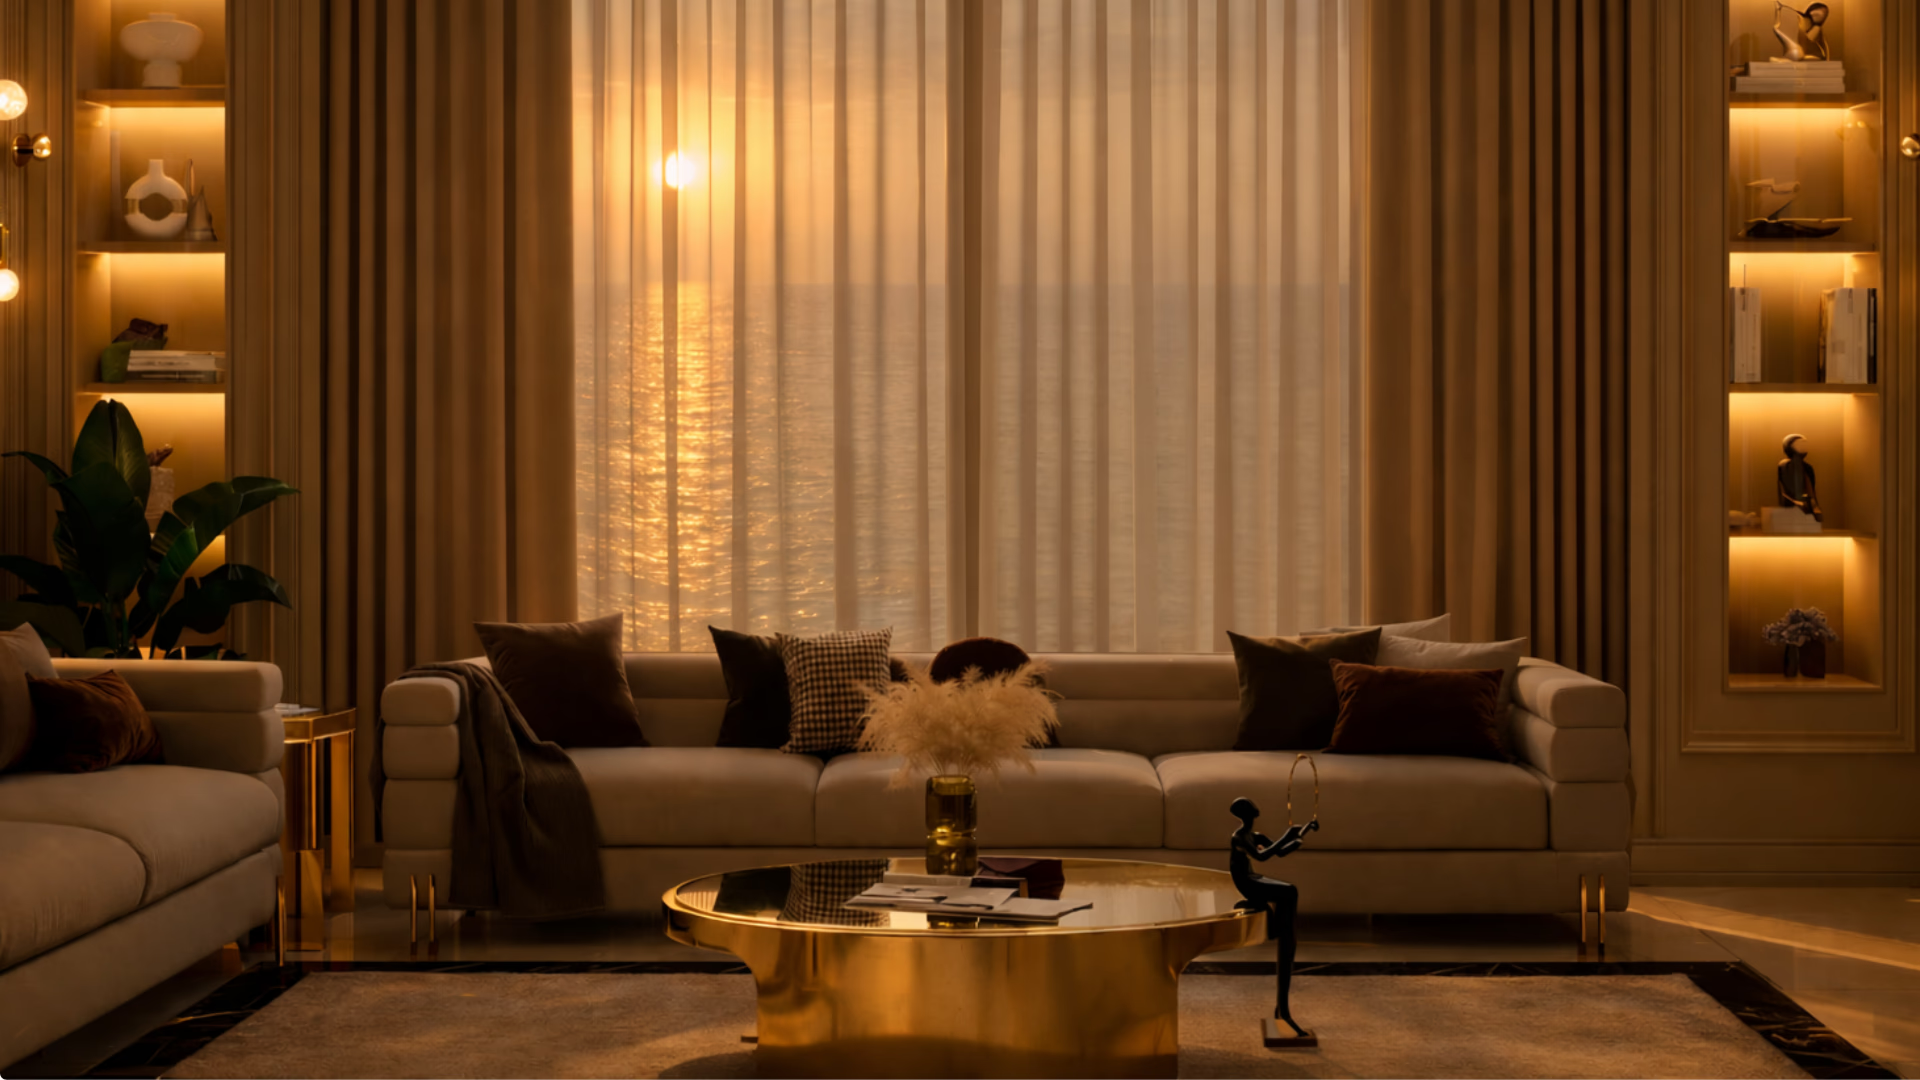
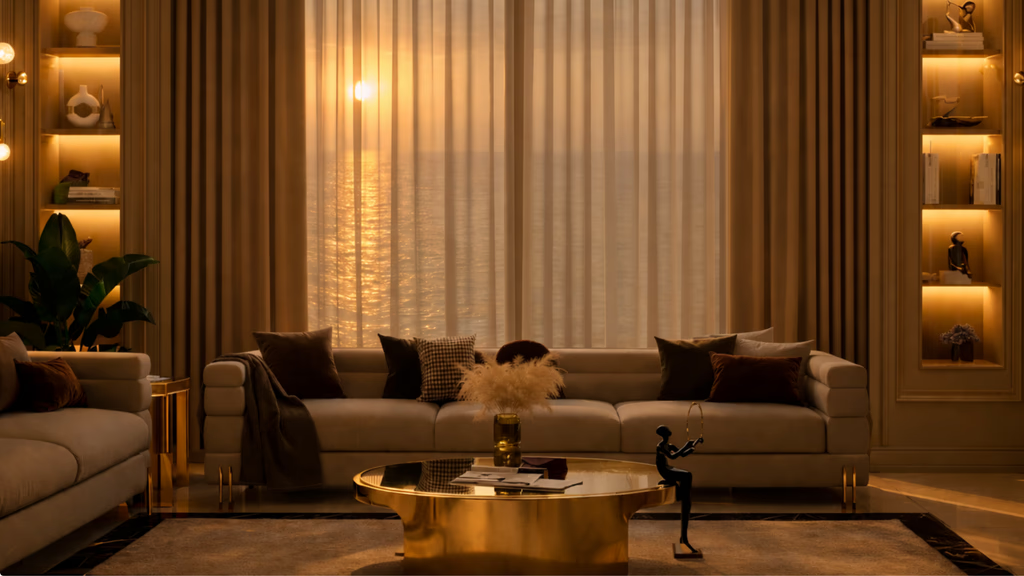
Cove lighting is an LED strip set inside a recess in a false ceiling, aimed upward or sideways so it washes the ceiling instead of lighting the room directly. You see the glow. You do not see the source. That is the entire trick, and every rule below exists to protect it.
Its job is not to light the room. A cove on its own leaves a space soft, even and slightly underlit for anything practical. Its job is to set the level the room sits at, which is why it matters far more to how a room feels than the downlights everyone argues about.
Lighting design has a standard way of describing this, taught by bodies like the Illuminating Engineering Society: light in layers. An ambient layer that fills the room, a task layer for reading or cooking, and an accent layer for art, texture and mood. Cove lighting is the ambient layer in most Indian living rooms, and the accent layer in the rest.
Which means a cove that cannot be dimmed is an ambient layer stuck at one setting. The room has one mood, permanently.
Cove light, profile light or COB: which do you actually need?
These three words get used as if they were competing products. They are not. They describe different things, and most good ceilings use all three. (For every other type, from panels and track to pendants and star ceilings, see false ceiling lights: every type explained.)
| Type | What the word describes | What it is for | Where it goes wrong |
|---|---|---|---|
| Cove | A position: a strip concealed in a ceiling recess, washing the ceiling | The ambient layer. Sets the level and the mood of the whole room | Recess too shallow, so the strip is visible from the sofa |
| Profile | A housing: an aluminium channel with a diffuser that holds the strip | Turning a line of dots into one continuous, clean line of light | Skipped to save money, leaving visible dotting along the cove |
| COB downlight | A fixture: a chip-on-board spot recessed into the ceiling | The task and accent layers. Pointed at things, not at the room | Laid out in a grid for symmetry rather than aimed at anything |
So "cove light vs profile light" is not really a choice. Most good cove lighting is a strip, mounted in a profile, hidden in a cove. The profile is what stops it looking like a row of dots, and it is the first thing cut when a quote needs trimming.
AHA supplies three lighting driver types to match: COB drivers for downlights, LED strip and profile drivers, and PCB drivers for track and chip boards. The useful detail is that each one controls its fixture individually, including colour temperature, rather than one dimmer governing a whole circuit.
What does cove lighting cost in a Mumbai flat?
Cove is rarely bought on its own, so the honest number is the cost of the lighting layer it belongs to. (For the ceiling itself, per square foot and per room, see false ceiling cost in Mumbai.) For a typical Mumbai flat:
- Living room, around ₹65,000. Two cove circuits, 10 to 12 spot and COB points, four decorative circuits, all dimmable and scene controlled.
- Bedroom, around ₹45,000. One cove circuit, four to six spot or COB points, two decorative circuits, under-bed lighting and a motion sensor.
- Bathroom, around ₹18,000. Two circuits, a retrofit switch and a presence sensor.
These are scope estimates rather than quotes. They move with the number of light points, which is set by the ceiling drawing, which is why the drawing is the right moment to have this conversation. Our room by room cost breakdown for a 3BHK in Mumbai puts these in the context of a whole flat.
One thing to check in any lighting quote: whether the price includes control, or only the fixtures. A quote for dimmable hardware without the system that dims it is a quote for half a job, and the gap usually surfaces after the ceiling is closed.
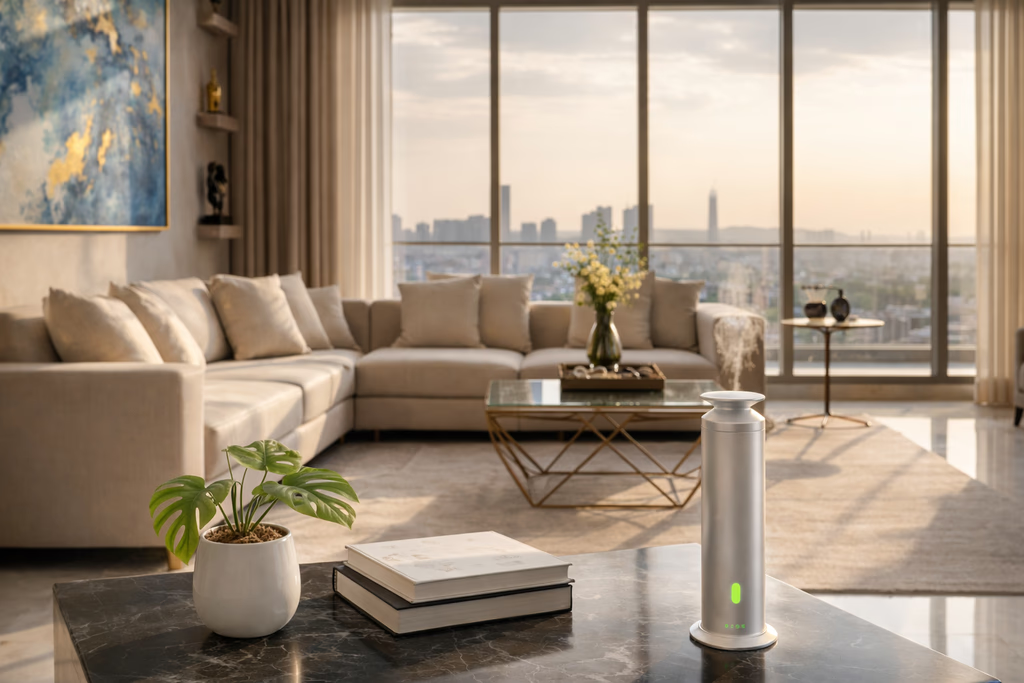
How many drivers a cove needs, and why it is a planning question. One LED strip driver covers up to 15 feet of strip. A cove running the full perimeter of a 40 foot living room therefore needs three, not one. Each driver needs a location inside the ceiling and, more importantly, access to that location afterwards. Deciding this after the boards go up means either a service hatch nobody planned for, or cutting the ceiling. Mark driver positions on the ceiling drawing at the same time as the light points.
Where does cove lighting actually work?
Cove lighting needs a ceiling worth washing and the height to spare. It is not a universal upgrade, and in a compact Mumbai flat it is worth being honest about where it earns its place.
It works best where there is a run of ceiling long enough to read as a gradient rather than a patch: a living room perimeter, the length of a passage, the wall behind a bed. It works where the ceiling is flat and pale, because a cove is only as good as the surface it bounces off. A dark or heavily textured ceiling absorbs most of what you paid for.
It works badly in three situations. In a room with a genuinely low ceiling, where losing the depth to a false ceiling costs more than the light gains. Over a short stretch of wall, where you get a bright patch instead of a wash. And in any room where the cove is the only light, because a cove alone leaves a space evenly lit and slightly flat, with nothing picked out.
That last point is the one worth sitting with. Lighting design bodies such as the Illuminating Engineering Society describe good interior lighting as layers: ambient, task and accent. A cove is one layer. Excellent cove lighting in a room with no task or accent layer is still a badly lit room.
The connection to control: in a compact room, and most Mumbai living rooms are compact, you cannot solve a lighting problem by adding more fixtures. There is no ceiling left. The only way to make six or eight points behave like a different room at different hours is to change their brightness and colour, which means the layers have to be separately controllable. In a large house automation is a convenience. In a small flat it is how you get more than one room out of one room.
How should a cove run be laid out?
The layout question is usually answered by the ceiling drawing before anyone asks it, which is how rooms end up with a continuous perimeter cove they did not need.
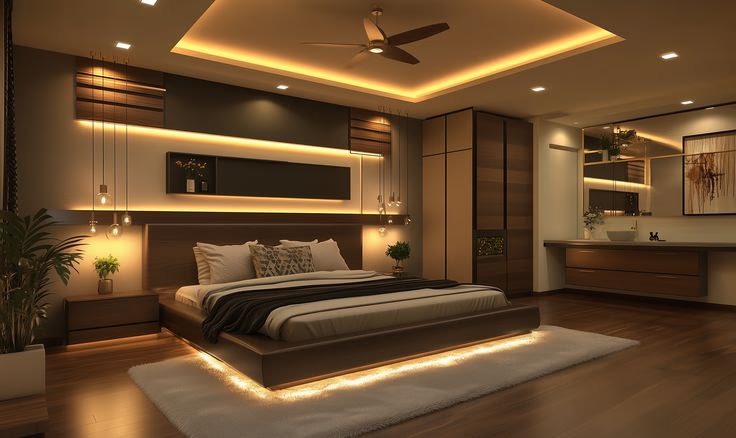
There are four common layouts, and they are not equivalent:
- Full perimeter. A cove running all four sides. The most even, the most expensive, and the most likely to be specified out of symmetry rather than intent. It suits a formal living or dining room with a regular shape.
- Single-sided. One run, usually along the longest wall or above the seating. Often the better answer in a compact room: it creates direction and depth rather than flat evenness, and it costs a quarter of the perimeter version.
- L-shaped or partial. Two adjacent sides, typically wrapping the seating area. A good compromise where a full perimeter would light a corridor or a wardrobe wall nobody looks at.
- Floating or island. A dropped ceiling raft with the cove around its edge, so the light washes both up and outward. Visually the strongest, and the most demanding of ceiling height.
Two practical rules that survive every layout. Do not run a cove over a wall you will later fill with a wardrobe or a tall unit, because it will light the top of the furniture and nothing else. And do not carry a cove across a doorway or a corner it cannot turn cleanly, because a broken run reads as an error rather than a choice.
The connection to control: each run you draw is a circuit, and a circuit is the unit a scene addresses. A room with one continuous perimeter cove on a single circuit can only ever brighten and dim as one object. The same ceiling split into two runs, seating side and dining side, can light half the room for a film and the other half for a meal. The layout decision and the scene decision are the same decision, made months apart by different people, which is why they so often disagree.
This is also where the driver count comes in, and it is the most practical planning number on this page.
What should you specify in the strip itself?
Most cove quotes describe the carpentry in detail and the light in one line. These are the specifications worth asking for by name, because they are where quality quietly varies.
- LED density, quoted as LEDs per metre. The higher the density, the less the strip reads as a row of dots through the diffuser. Low-density strip in a shallow cove is the most common cause of visible scalloping along a ceiling.
- Output, quoted as lumens per metre. Not watts. Watts tell you consumption, lumens tell you light. A cove that is underpowered for the ceiling height cannot be fixed by turning it up, because it is already up.
- Colour rendering. The Colour Rendering Index, defined by the International Commission on Illumination, describes how faithfully a source shows colour against natural light. Cheap strip hides here, and it is why a room can be bright and still make wood, fabric and skin look wrong.
- Colour consistency across the reel. Two lengths of nominally identical strip can differ visibly in tint. On a single continuous cove that difference is obvious and permanent. Ask whether the strip is sorted for colour consistency and whether the whole run comes from one batch.
- Ingress protection, where it is damp. A balcony cove, a bathroom, or any run near a window that gets Mumbai monsoon spray needs a rated strip. An indoor strip in a damp location fails, and it fails inside a sealed ceiling.
Two certifications are worth insisting on for anything going permanently inside a ceiling. The BIS Standard Mark, from the Bureau of Indian Standards, covers safety and performance for lighting sold in India. The BEE star label, from the Bureau of Energy Efficiency, rates efficiency, and a higher star rating means more light per watt. Unbranded strip bought loose typically carries neither, which is a reasonable reason to be careful about what disappears above a sealed ceiling.
The connection to control: every specification above describes the strip, and none of them determines how the strip behaves when you dim it. That is decided entirely by the driver, which is the component nobody asks about and the one that fails most visibly.
How many downlights does a room actually need?
Fewer than most Mumbai ceilings get. The common failure is a symmetrical grid of identical downlights covering the whole ceiling, which produces an evenly lit room with no shape to it and no way to change the mood.
Light output is measured in lumens, not watts. Watts tell you what a fixture consumes; lumens tell you what it gives. A typical 10W LED downlight puts out somewhere around 800 to 900 lumens, and that is the number worth comparing across quotes.
As a planning starting point for Indian homes:
| Room | Downlight spacing guide | What that works out to |
|---|---|---|
| Bedroom, around 120 sq ft | One 10W point per 20 to 25 sq ft | About 5 or 6 points |
| Living room, around 200 sq ft | One 10W point per 20 to 25 sq ft | About 8 to 10 points |
| Kitchen | One point per 10 to 15 sq ft over work surfaces | Counted over the counter run, not the whole room |
There is deliberately no single "total lumens" figure here. A room's total depends on how many layers it has, a cove plus downlights plus a lamp reads very differently from downlights alone, and a number that ignores the split is more likely to mislead than help. The spacing guide is the part worth planning from.
Three things matter more than the count. Even spacing, because an irregular grid reads as a mistake. An offset from the wall of roughly two feet, so downlights wash the wall rather than skim it. And beam angle: wide, around 60 to 90 degrees, for general light, and narrow, around 24 degrees, only where you are deliberately picking something out.
Glare is the other half of it. Where people sit and look up, which in a living room is most of it, deep-recessed anti-glare trims are worth specifying. The metric is Unified Glare Rating, and under 19 is the usual target for interiors.
The connection to control: every number above assumes one brightness. Once each point is dimmable, the calculation changes completely: you provision generously for the times you need it, a Diwali clean or a work afternoon, and run at thirty per cent the rest of the time. A dimmed layout is quieter, cooler and cheaper to run than a sparse one held at full output, and it is the only version that gives one room several moods.
Why does cove lighting flicker when you dim it?
Because the driver, not the strip, is doing the dimming, and cheap drivers dim badly at low output. This is the single most common complaint about cove lighting that was otherwise well designed, and it is worth understanding before rather than after.
An LED does not dim the way a filament bulb does. It is switched on and off very rapidly, and brightness is set by how much of each cycle it spends on. Done well, the switching is far too fast to perceive. Done cheaply, it becomes visible as flicker, or as a shimmer you notice on your phone camera before you notice it with your eyes, and it is worst at the low settings a cove spends most of its evening at.
The other failure is the low end simply not being there. Many inexpensive dimming setups will not go below roughly a fifth of full output before they stutter or cut out entirely, which removes exactly the range a cove is for. A cove you can only run between bright and off is not a dimmable cove.
Three things to ask about, none of which appear on a typical quote: how low the setup dims before it becomes unstable, whether the dimming is smooth or steps between levels, and whether all the drivers on one run are identical. Mixing driver types along a single cove produces runs that dim at different rates, so the ceiling brightens unevenly.
The connection to control, and this is the whole argument of the article: a dimmable cove is not created by buying a dimmable strip. It is created by the driver behind it. AHA lighting drivers control intensity and colour temperature per fixture rather than one dimmer governing a whole circuit, carry 4kV surge protection, and run at a power factor above 0.98. They come in 6 to 15W and 12 to 24W variants, install clean, surface or concealed so they disappear into the cove, and can be custom built to match premium fixtures including Delta, FLOS and Endo. This is the point where cove lighting stops being a carpentry decision and becomes a smart lighting one.
How deep should the cove recess be?
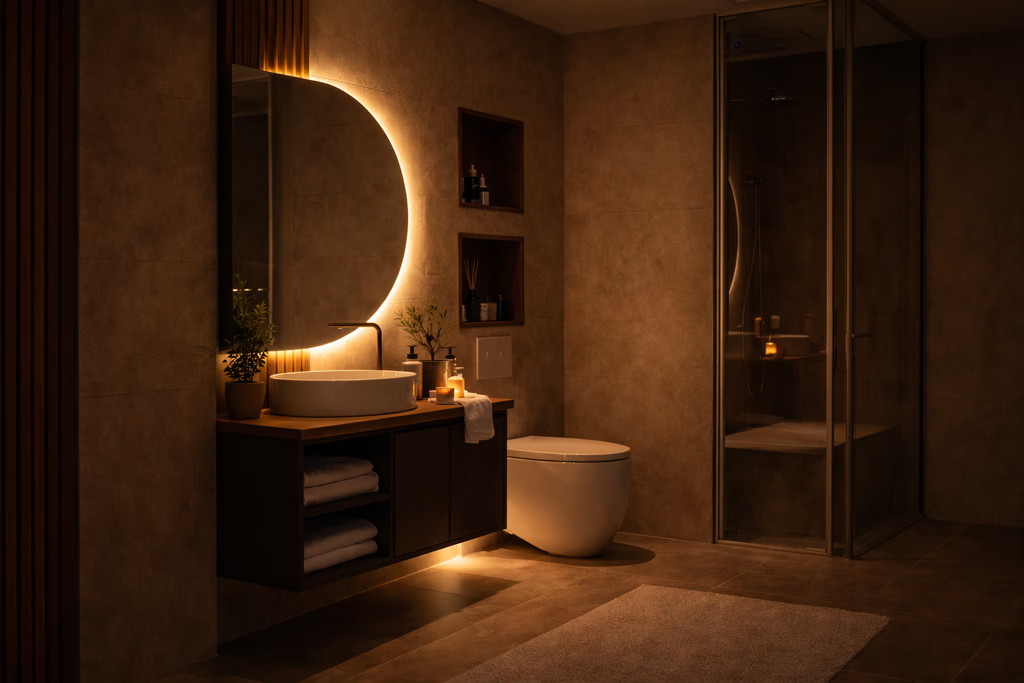
A working minimum is 100mm, about four inches, and 120 to 150mm where the ceiling is above 10 feet. Below that the strip starts to be visible from across the room, which is the failure this whole detail exists to prevent.
Treat that as a starting point rather than a specification, because the real answer depends on the strip, the profile and the ceiling height, and it is set by one rule: deep enough that nobody ever sees the strip, from any seat in the room.
Three things decide it:
- Sightlines. The lowest, furthest seat in the room is the test. If the strip is visible from the sofa, the cove is too shallow or the lip is too low, and no amount of dimming fixes the glare.
- Spread. The strip needs distance between itself and the ceiling it is washing. Too tight and you get a hard bright band instead of a soft gradient, which reads as a mistake even to people who cannot say why.
- Access. Strips fail eventually. A cove built so tight that replacing a run means dismantling the ceiling is a maintenance problem waiting several years to arrive.
Do not take a depth figure from an article, including this one. It should be set against your actual lighting drawing and ceiling height, with the strip and profile already chosen. Any lighting designer or automation consultant will do this at a site visit, and it takes minutes.
How does the cove fit with the rest of the ceiling?
A cove is never the only thing inside a false ceiling, and in a Mumbai flat it is competing for space with services that were there first.
Air conditioning ducting is the usual conflict. A ducted indoor unit and its runs take real depth, and where a duct crosses a planned cove, one of them moves. Discovering that on site normally means the cove loses, and a run gets truncated in a way nobody drew. Sprinkler heads and smoke detectors have their own required positions in many buildings and cannot simply be relocated to suit a ceiling design. Speakers, if any are going in, want to be clear of the cove recess entirely.
Then there is the height itself. Any false ceiling costs headroom, and a cove costs more than a flat one, because the recess needs depth above the lip. In a room that is already tight, that trade is worth making consciously rather than inheriting from a drawing.
The practical fix is unglamorous: get the lighting drawing, the AC drawing and the ceiling drawing on the same table once, before any of them is final. It takes an hour and it is the cheapest hour in the project.
The connection to control: that same meeting is when driver locations, circuit splits and control wiring get marked. All of it lives inside the ceiling, all of it needs to be reachable afterwards, and none of it can be added later without cutting. The reason automation is a construction-stage decision rather than a shopping decision is that it shares a ceiling with the ducts.
POP, gypsum or PVC: which material should the ceiling be?
The material decides how the cove is built, how crisp its edges are, and how it behaves in a Mumbai monsoon. It is usually chosen on price alone.
| Material | Best for | In Mumbai humidity |
|---|---|---|
| POP | Curves, mouldings, traditional detailing. Mixed on site, so the finish depends heavily on the crew | The most vulnerable. Wet process, slow to cure, and least forgiving of seepage |
| Gypsum board | Flat modern planes and clean cove edges. Factory made, so dimensionally consistent and faster | Better, and the moisture-resistant grade is the right default for Mumbai |
| PVC panel | Bathrooms, balconies, utility areas. Light and inexpensive | Handles damp well. Finish is less premium, so rarely right for a living room |
| Wood and veneer | Warmth and accent detail, used in sections rather than whole ceilings | Needs termite and moisture control. Not fire resistant, so accents only |
For anywhere that gets damp, the specification to ask for by name is moisture-resistant board, the treated grade with a water-repellent core and a fungicide additive. It is not waterproof, and it does not belong in a shower zone, but it is the correct choice for a Mumbai living room, a kitchen ceiling or anything near an external wall. Pair it with galvanised steel framing rather than timber battens.
The connection to control: material determines how a ceiling is opened again. A gypsum plane can be cut and patched invisibly by a competent hand. Cut POP and you can usually see where. That matters because every driver, every controller and every junction lives above that board, so the material you choose is also the decision about how painful future service will be. It is one more reason to fix driver positions and access panels on the drawing.
What does Mumbai do to a ceiling that other cities do not?
Most lighting advice online is written for a dry climate and a house. Mumbai is neither, and three local conditions change the specification.
Monsoon humidity and seepage. Through the monsoon this city runs at very high humidity for weeks, and the failures that follow are rarely dramatic. They are staining, sagging edges and mould, appearing one or two monsoons after handover, usually traced to seepage from the flat above, an external wall, or condensation on a concealed air-conditioning duct. Three defences: waterproof the slab before any ceiling work, insulate concealed ducts so they do not sweat inside the void, and schedule the ceiling work outside June to September so a wet process is not curing in wet air.
Salt air, if you are near the sea. In sea-facing buildings, salt-laden air corrodes fixture housings, fasteners and metal profiles considerably faster than plain humidity, and an IP rating alone does not protect against it, since IP describes water and dust ingress rather than corrosion. For balconies and anything exposed, ask for die-cast aluminium or stainless fixings, powder-coated or anodised finishes, and polycarbonate diffusers. Rinsing exposed balcony fittings with fresh water occasionally genuinely extends their life.
Older buildings and their wiring. A ceiling full of downlights, cove runs and drivers is a different electrical proposition from the two ceiling points it replaces. In older Mumbai stock that can mean an inadequate sanctioned load, a distribution board with no spare ways, missing earthing, or the same no-neutral switchboards that complicate smart switches. This is an electrician's assessment, not a lighting one, and it is far better done before the ceiling drawing is signed than after the boards are up.
The connection to control: all three push in the same direction. Anything that will need reaching later should be reachable, and anything that would require reopening a sealed, humid, salt-exposed ceiling should be decided once, correctly, at the start. That is precisely the argument for settling dimming and control at the drawing stage rather than living with a switched ceiling and regretting it.
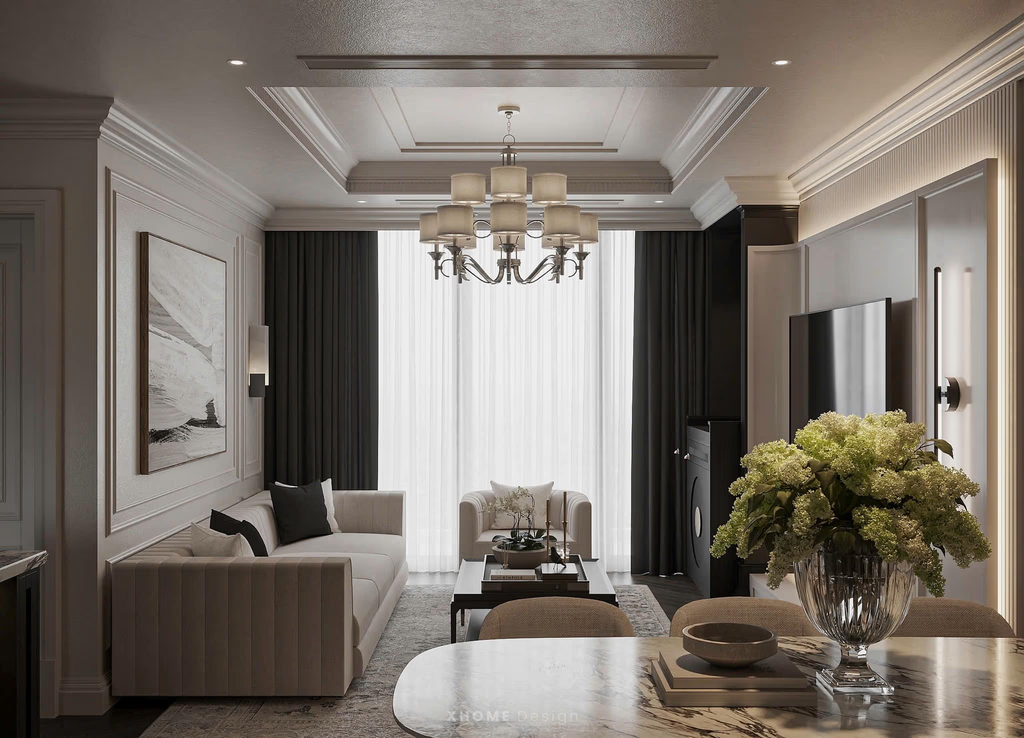
Should cove lighting be dimmable?
Yes, and this is the decision worth getting right. Everything else on this page can be adjusted later at moderate cost. This one cannot.
A cove is the ambient layer. Ambient light that cannot change is a room with a single setting: the same brightness for a working afternoon, a dinner with guests and a film at eleven at night. Dimming is not a luxury on this layer, it is the reason the layer exists.
Colour temperature matters just as much and is thought about less. A cove at a cool setting reads as an office. The same cove warmed down in the evening reads as a living room. Being able to move between the two through the day is what people mean when they say a room feels considered.
The catch is that both have to be wired for at the ceiling stage. A dimmable driver sits in the ceiling next to the strip. Adding one afterwards means reopening the ceiling, which is the single most expensive way to change your mind about lighting.
This is where smart lighting stops being a gadget conversation and becomes a construction one. AHA drivers give each fixture its own intensity and colour temperature control rather than one shared dimmer per circuit, carry 4kV surge protection, and run at a power factor above 0.98. They come in 6 to 15W and 12 to 24W variants and can be installed clean, surface or concealed, which is what lets them disappear into a cove. For premium fixtures they are custom built to match, including Delta, FLOS and Endo.
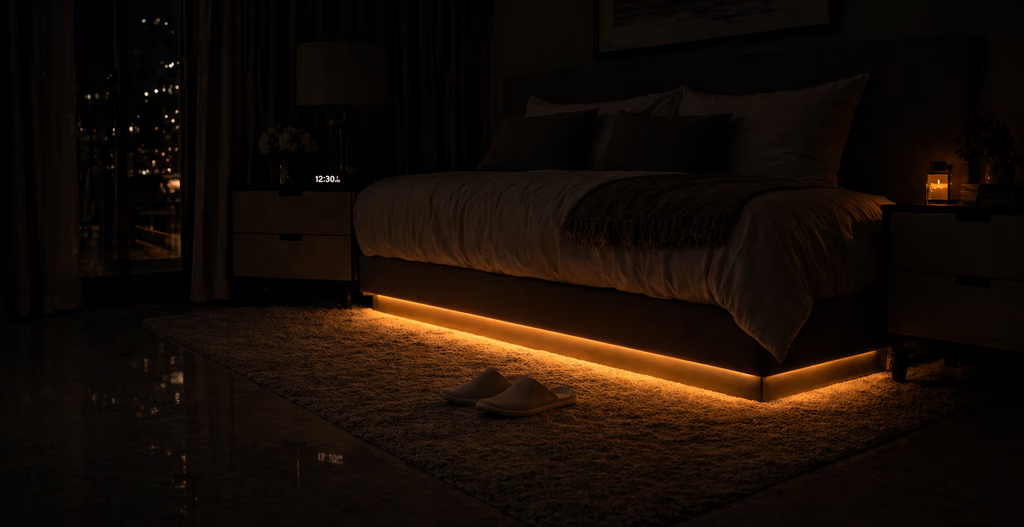
Warm white or cool white in a cove?
For a cove in a living room or bedroom, warm. A cove is doing mood work, and cool light does not do mood.
The more useful answer is that you should not have to choose permanently. Tunable drivers move the same cove between a cooler, brighter setting for daytime and a warm low setting for the evening, which is a better outcome than picking one colour temperature in a showroom and living with it for fifteen years. AHA drivers ship running at 4000K, a neutral setting that does not drive the LED to full power and therefore lasts longer, and colour temperature is then controlled per fixture.
One specification worth asking for that almost nobody does: colour rendering. The Colour Rendering Index, defined by the International Commission on Illumination, describes how faithfully a light source shows colour compared with natural light. Cheap strip is where poor colour rendering hides, and it is why a room can be bright and still make wood, fabric and skin look wrong. It costs nothing to ask the figure before buying.
This deserves its own article and will get one shortly. For now, the short version: warm for living spaces, tunable if you can, and always ask about colour rendering.
What should each room get?
The layers are the same everywhere. What changes is which layer leads.
- Living room or hall. Cove leads, with a small number of anti-glare downlights and one focal piece over the seating or the dining end. Keep the cove and the downlights on separate circuits, which is the single most useful split in the house.
- Bedroom. A warm cove, around 2700K, and no cooler than 3500K, because a bedroom cove at daylight temperature works against winding down. Bedside task light on its own control, and a night setting that dims very low rather than switching to a bright light at 3am. The bedroom ceiling has rules of its own, because it is the only one you look at from lying down.
- Kitchen. In a Mumbai kitchen under about nine feet, skip the drop entirely. A flat ceiling, a recessed point or two, and proper under-cabinet lighting in a profile at a neutral temperature, because the work surface is the only thing that actually needs light here. Why your counter is always in shadow explains why that under-cabinet layer is not optional.
- Dining. A pendant over the table doing the work, hung low enough to define the table without blocking sightlines, with the cove as the surround.
- Study or work corner. Neutral task light, low-glare trims, and positioned so nothing reflects off a screen. This is the one room where cooler light genuinely helps.
- Puja room. Clean, bright, white or off-white, with a warm accent if you want one. Simple and generous rather than moody.
- Bathroom and balcony. Moisture-resistant board or PVC, rated fittings, and nothing decorative in the direct wet zone.
The connection to control: read that list again as scenes rather than rooms and the automation case makes itself. Every room above wants at least two settings, and several want four. Separate circuits are what make that possible, and circuits are drawn on the ceiling plan.
Is magnetic track lighting worth considering?
It is the one genuinely new option worth knowing about, and it suits Indian homes for a reason most articles miss.
A magnetic track is a low-voltage rail, recessed into the ceiling or surface mounted, into which spots, linear bars and small pendants clip magnetically. Fixtures can be moved, added or swapped along the rail without any rewiring, and modern profiles are slim enough to sit in a shallow ceiling.
That flexibility maps onto how Indian homes are actually used. A living room is rearranged for a festival, a wall gets art it did not have, a dining table moves. A fixed downlight grid built for one furniture layout becomes wrong the moment anything moves. A track does not.
The trade-off is honest: a track is visible where a recessed downlight is not, and it reads as deliberate and contemporary rather than invisible. In a room aiming for a completely clean ceiling, a cove plus flush trimless downlights is still the quieter answer.
The connection to control: a track solves layout flexibility but not brightness. The fixtures on it still dim through their driver, so a track that is not on a dimmable circuit gives you movable lights stuck at one level. If you are already accepting a visible rail for the flexibility, it is worth wiring it to be controllable too.
Which five cove lighting mistakes are expensive to undo?
- Treating it as carpentry. The cove gets drawn by the interior designer and built by the carpenter, and the lighting decision arrives last, by which point the recess dimensions are already fixed. Bring the lighting drawing and the ceiling drawing together before either is final.
- Skipping the profile. A bare strip in a cove gives a line of visible dots rather than a continuous wash. It is the cheapest thing to cut from a quote and one of the most visible.
- One dimmer for the whole circuit. If a single control governs the cove, the spots and the decoratives together, you do not have layers, you have one light with a volume knob.
- No access to the drivers. Drivers live in the ceiling and eventually need reaching. Mark their positions during planning and leave a way in.
- No manual override. Every automated circuit should still work from a wall switch with no phone and no internet. Power cuts happen, and a ceiling you cannot turn on is worse than a ceiling that was never clever.
The pattern behind all five: cove lighting is decided during construction and lived with for a decade. Ten minutes of planning at the ceiling drawing stage outranks any amount of hardware bought later.
What does a Mumbai building require before work starts?
The part nobody plans for, and the reason projects slip by a fortnight before a single board is cut.
A written society NOC comes first. Interior work in a co-operative housing society needs the committee's written permission, and most societies also ask for a refundable security deposit against damage to common areas. Expect restrictions on working hours, typically office hours on weekdays with Sundays and holidays off, registration of workers' identity documents, rules about debris removal, and sometimes a charge for using the lift for material. Load-bearing walls, beams and columns are off limits without professional structural sign-off.
A false ceiling is cosmetic, so it does not usually require municipal permission the way a structural change does. The society approval, however, is not optional, and it is the one that gates your start date.
Sequence matters more than speed. The order that avoids rework is: electrical assessment, then the lighting plan agreed against the ceiling plan, then all wiring pulled and driver positions fixed, then boarding, then finishing. Every cable goes in before the boards do. A gypsum ceiling in one room is a matter of a few days; POP takes appreciably longer because it is a wet process that has to cure, which is also why it is a poor choice mid-monsoon.
On sourcing, Mumbai has an advantage worth using. Lohar Chawl, near Crawford Market in Kalbadevi, is the city's wholesale electrical and lighting market, and the surrounding lanes carry strip, profile, drivers, fittings and controllers at a fraction of showroom pricing. It rewards knowing exactly what you want, which is a good reason to have the specification settled first.
The connection to control: the permission window and the wiring window are the same window. If control is decided at the same time as the ceiling, it costs one approval, one crew mobilisation and one round of dust. Decided six months later, it costs all three again, plus reopening a finished ceiling.
What can a controlled ceiling actually do?
Worth being concrete, because "smart lighting" as a phrase promises everything and describes nothing. Here is what the layers on this page do once each one is separately controllable.
- Evening. Cove down to a warm low level, downlights off, accent on the art. One press, and the room changes character at the hour you actually use it most.
- Film. Cove at a fraction of output so the room is not black, everything else off, the screen the brightest thing in the room. This is the scene that makes people believe in dimming.
- Puja and festival. Everything up, clean and bright, no mood at all. The opposite of the evening scene, one press away from it.
- Diwali. Colour on the cove and the accent circuits for a week, then back to normal without anyone rewiring anything.
- Monsoon afternoon. A Mumbai flat at 3pm in July is genuinely dark. A daylight boost scene brings the cove and downlights up cool and bright, which is the one time of year a living room wants office lighting.
- Night. A very low level on a motion sensor, so the walk to the kitchen at 3am does not involve a bright overhead light.
None of that needs an app in daily use. It runs from the keypad on the wall, and it keeps working during an internet outage because the logic sits on a hub inside the home rather than on a server elsewhere.
The connection to control, stated plainly: not one of those six scenes is possible on a ceiling wired as a single switched circuit, and every one of them is straightforward on a ceiling where the layers were split and the drivers were chosen for dimming. That decision is made on a drawing, months before anyone thinks about automation, which is why this article is about lighting rather than about technology. Our smart lighting page covers what the control layer looks like once the ceiling is right.
When should you decide, and who does what?
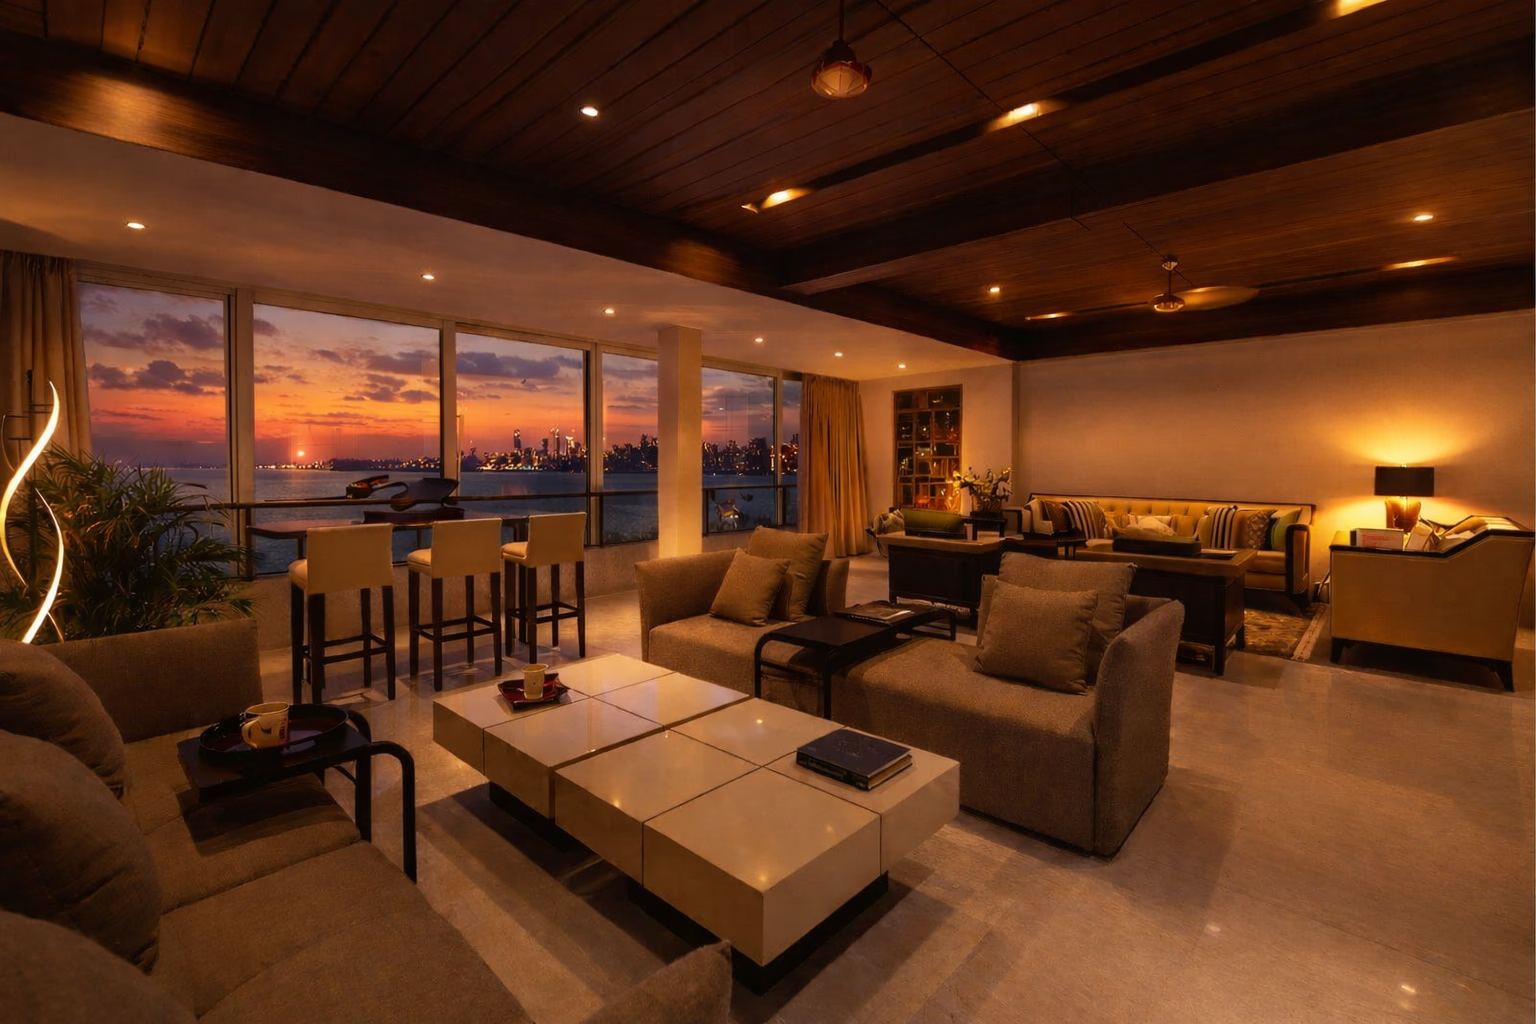
The moment to make these decisions is while the false ceiling and switchboards are still open, which in a Mumbai fit-out is a window of a few weeks. Even if the visible smart layer is added later in phases, provisioning during construction, meaning the extra points, a driver location with access, and control wiring where it is needed, is dramatically cheaper than retrofitting.
Worth being explicit about roles, because this industry often blurs them. AHA does not install. AHA designs the lighting control system, supplies the drivers and controls, configures them and commissions the scenes in your home. The false ceiling is built by your carpenter and the electrical work is done by your electrician, both of whom are usually already on site.
If you want to see the difference between a dimmable, tunable cove and a switched one before committing, that is what the experience centres are for. Both are in Mumbai, in Santacruz West and Lower Parel. Theatre Mode and Spotlight Mode are two scenes built almost entirely on this layer, and running them side by side makes the case faster than any specification sheet.
On efficiency, since it usually comes up: most of the saving in a lighting layer comes from running fixtures below full output rather than from the fixtures themselves, which is a dimming benefit rather than a hardware one. India’s Bureau of Energy Efficiency publishes efficiency ratings for lighting products sold here if you want to compare fixtures on their own merits.
What do people ask us next?
What is cove lighting?
An LED strip hidden inside a recess in a false ceiling, aimed upward or sideways so it washes the ceiling instead of lighting the room directly. You see the glow, not the source. It is the layer that sets the mood of a room, and the one people most often wish they had made dimmable.
What is the difference between cove light and profile light?
Cove describes the position, a strip concealed in a ceiling recess. Profile describes the housing, an aluminium channel with a diffuser that holds the strip and turns a line of dots into one clean line. They are not alternatives: most good cove lighting is a strip, in a profile, hidden in a cove.
What does cove lighting cost in a Mumbai flat?
Around ₹65,000 for a living room lighting layer, covering two cove circuits, 10 to 12 spot and COB points and four decorative circuits, all dimmable and scene controlled. A bedroom layer is around ₹45,000, a bathroom around ₹18,000. Scope estimates, so they move with the number of light points.
How many drivers does a cove need?
One LED strip driver covers up to 15 feet of strip, so a 40 foot perimeter cove needs three. This is a planning question rather than a shopping one: each driver needs a location inside the ceiling and access to it afterwards, marked before the ceiling closes.
Why does my cove lighting flicker when I dim it?
Because the driver behind the strip is doing the dimming, and inexpensive drivers dim badly at low output. LEDs are dimmed by switching very rapidly; done cheaply that switching becomes visible as flicker or shimmer, and it is worst at the low settings a cove spends the evening at. Many cheap setups also will not dim below roughly a fifth of full output before stuttering. Ask how low the setup dims cleanly, whether the dimming is smooth or stepped, and whether every driver on the run is identical.
Should cove lighting be dimmable?
Yes, and it is the one decision worth insisting on. A cove at fixed brightness is an ambient layer with a single setting, which defeats its purpose. Dimming and colour temperature have to be wired at the ceiling stage; adding them later means reopening the ceiling.
POP or gypsum: which is better for a Mumbai flat?
Gypsum, in moisture-resistant grade, for most Mumbai ceilings. It is factory made so the cove edges are cleaner and more consistent, it goes up faster, and it copes better with humidity. POP is cheaper and better for curves and mouldings, but it is a wet process that cures slowly and is the more vulnerable of the two to seepage. Pair either with galvanised steel framing rather than timber.
Does a false ceiling make a Mumbai flat feel low?
It can. A false ceiling costs several inches of headroom, and many newer Mumbai flats start at only about 8.5 to 9 feet. The National Building Code sets a minimum clear height for habitable rooms, so there is a floor you cannot design below. In anything under roughly 9.5 feet, a shallow peripheral cove or a narrow tray usually beats a full drop.
How many downlights does a room need?
Roughly one 10W point, around 800 to 900 lumens, per 20 to 25 sq ft in a living room or bedroom, and per 10 to 15 sq ft over kitchen work surfaces. Even spacing and a wall offset of about two feet matter more than the exact count, and a grid of identical downlights with no cove and no dimming is the most common way to get this wrong.
Is false ceiling lighting a problem in the monsoon?
Only if it is planned badly. Waterproof the slab first, use moisture-resistant board with galvanised steel framing, insulate concealed AC ducts so they do not sweat inside the void, and schedule the work outside June to September so a wet process is not curing in wet air. Most ceiling failures here are seepage and condensation, not the ceiling itself.
Do I need society permission for false ceiling work in Mumbai?
Yes. Interior work in a co-operative housing society needs written committee permission, and most societies also take a refundable deposit and restrict working hours, usually weekday office hours with Sundays off. A false ceiling is cosmetic so it does not normally need municipal permission, but the society NOC gates your start date and is worth applying for early.
Does AHA install the lighting?
No. AHA designs the lighting control system, supplies the drivers and controls, configures them and commissions the scenes. The false ceiling is built by your carpenter and the electrical work is done by your electrician, both usually already on site during a fit-out.
Cove lighting is one of the few things in a home that is decided by people discussing carpentry and lived with as light. The recess gets built to a drawing, the drawing gets made without a lighting plan, and the result is either quietly excellent or permanently average.
If a ceiling drawing is in front of you right now, that is the moment. Bring it to either experience centre, Santacruz West or Lower Parel, and the driver positions, circuit split and dimming decisions can be marked on it in one sitting.
Book a free consultation →For how this layer behaves once it is controlled, see planning a smart living room, and the AHA smart lighting page for the layering in more detail. If the ceiling is already closed, or you are renting, mood lighting ideas covers what can be done without touching it. For the layout that goes underneath all of this, see how to plan a living room lighting scheme.