Living Room Lighting Design: How to Plan It
Plan a living room's lighting from the seating out: a warm layer that fills the room, such as cove or downlights, task light where people read, and accents on the walls, each on its own circuit. That usually means eight to twelve light sources, set out on a drawing before the electrician starts.
A living room lighting plan comes down to a handful of numbers: downlights about 1 to 1.5 metres apart and roughly two feet off the wall, wall lights at 1.5 to 1.7 metres, pendants with 2.1 metres of clearance where people walk, and the whole room split across at least three circuits rather than one.
Those numbers are the easy part. The reason most living rooms are badly lit is not that someone got the spacing wrong. It is that no plan existed. The electrician was asked where the lights should go, on site, with the walls already up, and he did the sensible thing: he put one in the middle and asked whether you wanted more.
This guide is about making the drawing instead. What each fixture is for, where it physically goes, how high it sits, and how the room gets split into circuits. It deliberately does not cover cove construction, colour temperature or scene setting in any depth, because three other guides on this site already do, and they are linked at the points where you will want them.
Why start from the seating, not the ceiling?
The single most useful habit in lighting design is to plan the room before you plan the lights. Almost every bad living room scheme comes from starting with a symmetrical ceiling grid and hoping the furniture works around it.
Take the furniture layout and mark four things on it:
- Where people sit. Every seat is a place someone will read, talk or look at a screen from. It is also a place someone will be looking up from, which is what makes glare a seating question rather than a ceiling question.
- What people look at. The television, the art, the feature wall, the view. These want accent light, and they want it aimed rather than spread.
- Where people walk. The route from the door to the sofa, and from the sofa to the kitchen. These want low, even light and nothing hanging in them.
- What the room does at each hour. Most Indian living rooms are a daytime working space, an evening family room and a hosting space on weekends, and those three want genuinely different light.
Now place light for each of those, and only then ask what fixture delivers it. This ordering sounds obvious and is almost never followed, because fixtures are the fun part and drawings are not.
A lighting plan is a decision about where you want light. A shopping list is a decision about what you want to own. They are not the same document.
The layered vocabulary underneath all of this, ambient for fill, task for activity, accent for emphasis, is standard and is taught by bodies like the Illuminating Engineering Society. Our guide to mood lighting ideas covers the three layers and the colour temperature question properly, so this page assumes them and gets on with placement.
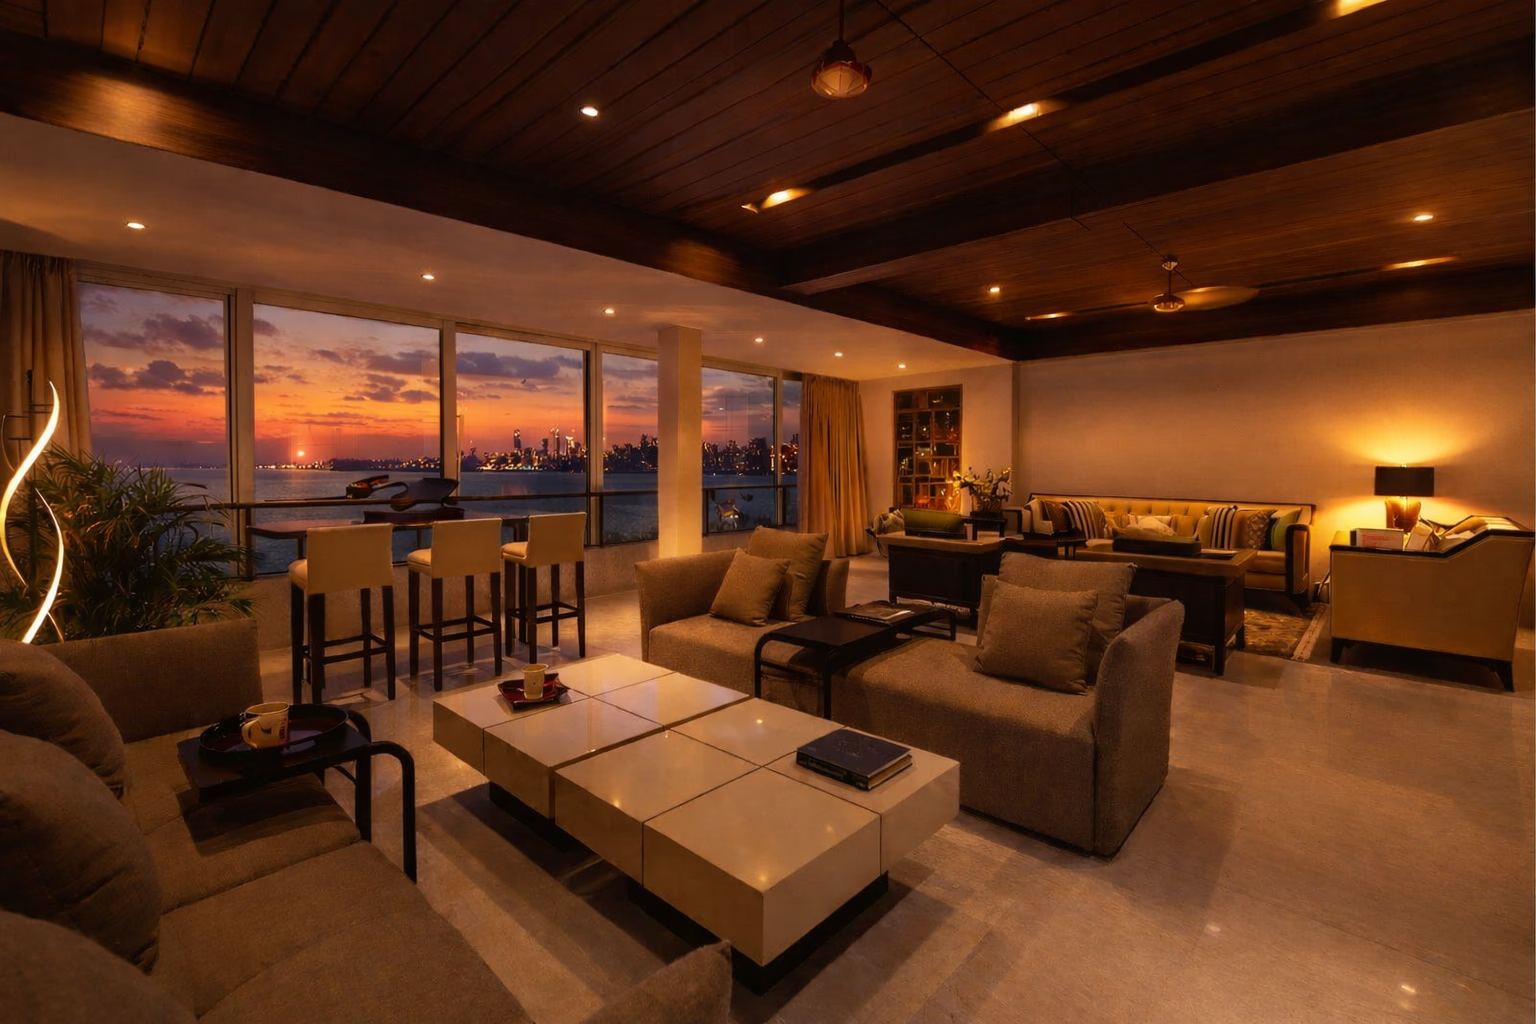
Where does each fixture actually go?
This is the part that belongs on the drawing. Heights are from finished floor level, and every one of them is a convention to start from rather than a standard to obey.
| Fixture | Where it goes | The number that matters | What goes wrong |
|---|---|---|---|
| Recessed downlights | Spread across the ceiling, pulled away from the walls | About 1 to 1.5 m apart, roughly 2 ft off the wall | Set tight to the wall, so each one scallops a hotspot down it |
| Wall lights and sconces | On the long walls, in pairs, flanking a sofa or a doorway | 1.5 to 1.7 m from the floor, so 5 to 5.5 ft | Mounted too high, where they read as a second ceiling light |
| Pendant or chandelier | Over a coffee table or in a corner, rarely dead centre | At least 2.1 m, around 7 ft, of clearance in a walkway | Hung centrally by default, lighting the floor and nothing else |
| Floor lamp | Beside or behind a seat, at the end of the sofa | Shade at roughly seated eye level, near 1.1 to 1.3 m | Shade above eye level, so the bulb glares at whoever sits down |
| Table lamp | On a side table within reach of a seat | Shade bottom near seated eye level once on the table | Bought for the base, so the shade sits too high or too low |
| Accent or picture light | Aimed at art, a texture or a plant, not at the room | A narrow beam, around 24 degrees, aimed off vertical | Aimed straight down, so framed art reflects it back at you |
| TV bias strip | Behind the screen, hidden by the panel itself | Low output, warm, never in the line of sight | Run around the whole unit, so it becomes the brightest thing |
| Cove | The ceiling perimeter, hidden in a recess | Decided with the ceiling drawing, before boards go up | Specified after the ceiling is closed, which means reopening it |
Two of those need a caveat. Downlight counts and spacing have their own guide, because the number depends on ceiling height and beam angle as much as on floor area: our false ceiling and cove lighting guide works through the counts, the recess and the driver positions. And the cove row is a one-line summary of an entire article, deliberately, because everything about coves is decided at the ceiling stage and belongs on that drawing rather than this one.
How should a living room be split into circuits?
Three circuits minimum, four or five if the room has any complexity. This is the cheapest decision on the entire plan and the one that most determines whether the room is any good, and it has to be made while the wiring is open.
A sensible split for a typical living room:
- Ambient. The downlights, or the ceiling fixture, or both. The layer that makes the room usable.
- Cove or perimeter. If there is one. It sets the level of the room and it should never share a switch with the downlights, because the entire point is running one without the other.
- Accent. Picture lights, the TV strip, anything aimed at an object. Low output, and the layer you leave on when everything else is off.
- Task. Usually the lamps, which in most flats means switched sockets rather than a lighting circuit.
Here is the test. Stand in the room and ask how many genuinely different states you can produce with the switches on the wall. A room on one switch has one state: on. A room on three has around seven usable combinations, which is enough to cover an evening, a film, guests and a working afternoon without buying anything else at all.
Splitting circuits costs a few hundred rupees of extra wiring during a fit-out and is close to impossible to add cheaply afterwards, which is the whole argument for doing it on the drawing. Our guide to planning a smart living room covers what it costs to go further than that.
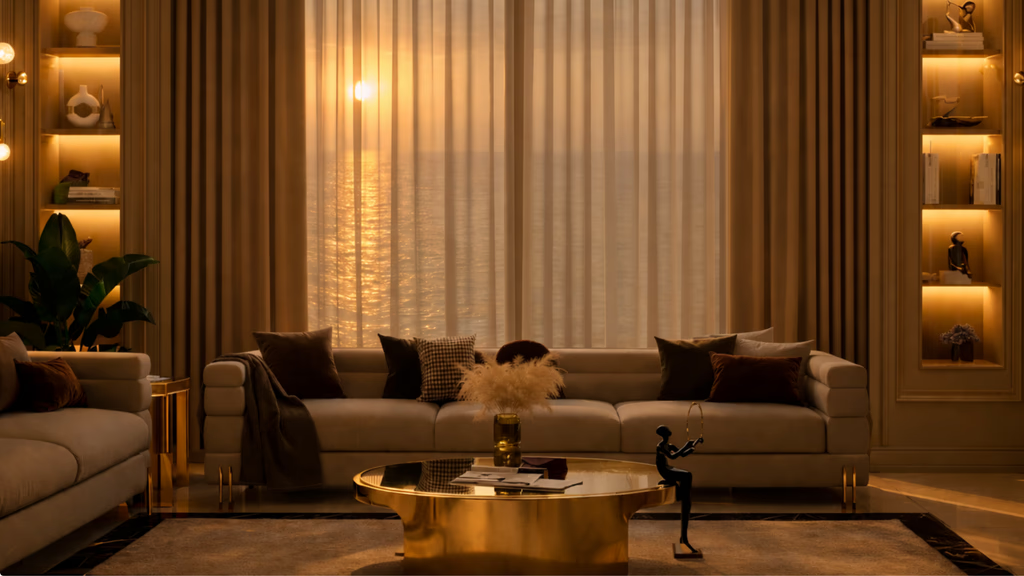
The one thing to insist on if you read nothing else. Three separate light sources, at three different heights, on three separate switches. Ceiling, mid-wall, and table or floor level. That single rule produces a better living room than any amount of money spent on fixtures wired to one switch, and it costs almost nothing to specify while the walls are open. Everything else on this page is refinement.
What is each fixture type actually for?
Briefly, because the placement table already covers where they go, and the point here is what job each one is doing.
Recessed downlights
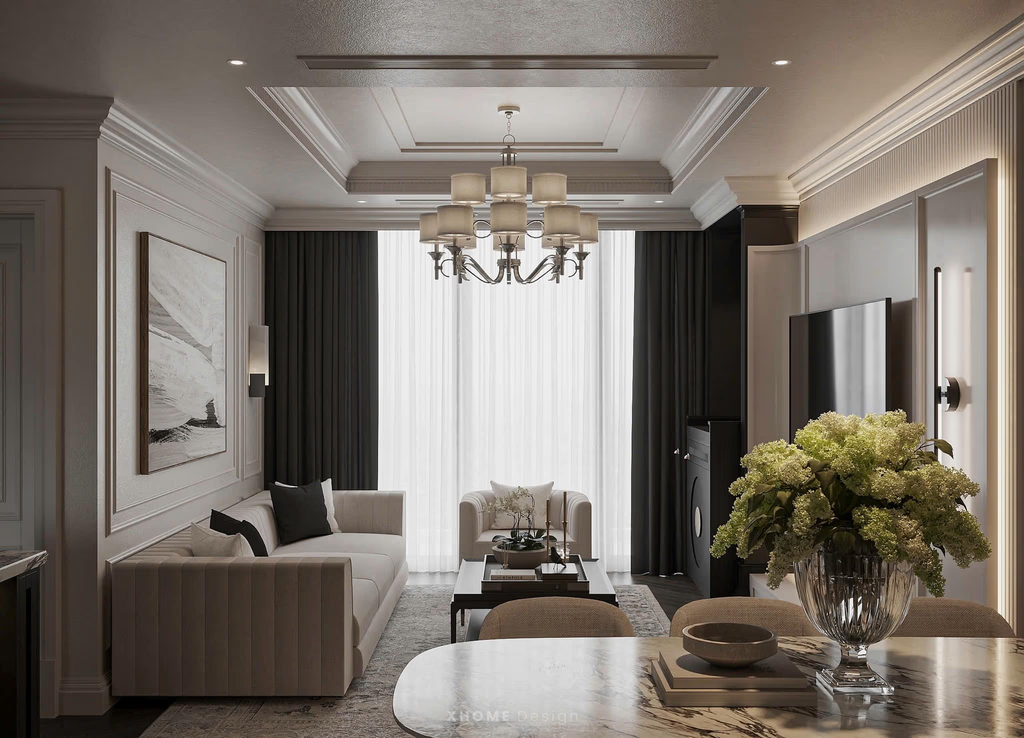
The ambient workhorse in most Indian flats, and the layer people overbuy. They light the floor well and faces badly, which is why a grid of them alone makes a room feel like a shop. Useful when spread wide and dimmed, poor as the only layer. Where there is no false ceiling depth, surface-mounted spots do the same job.
Cove and profile lighting
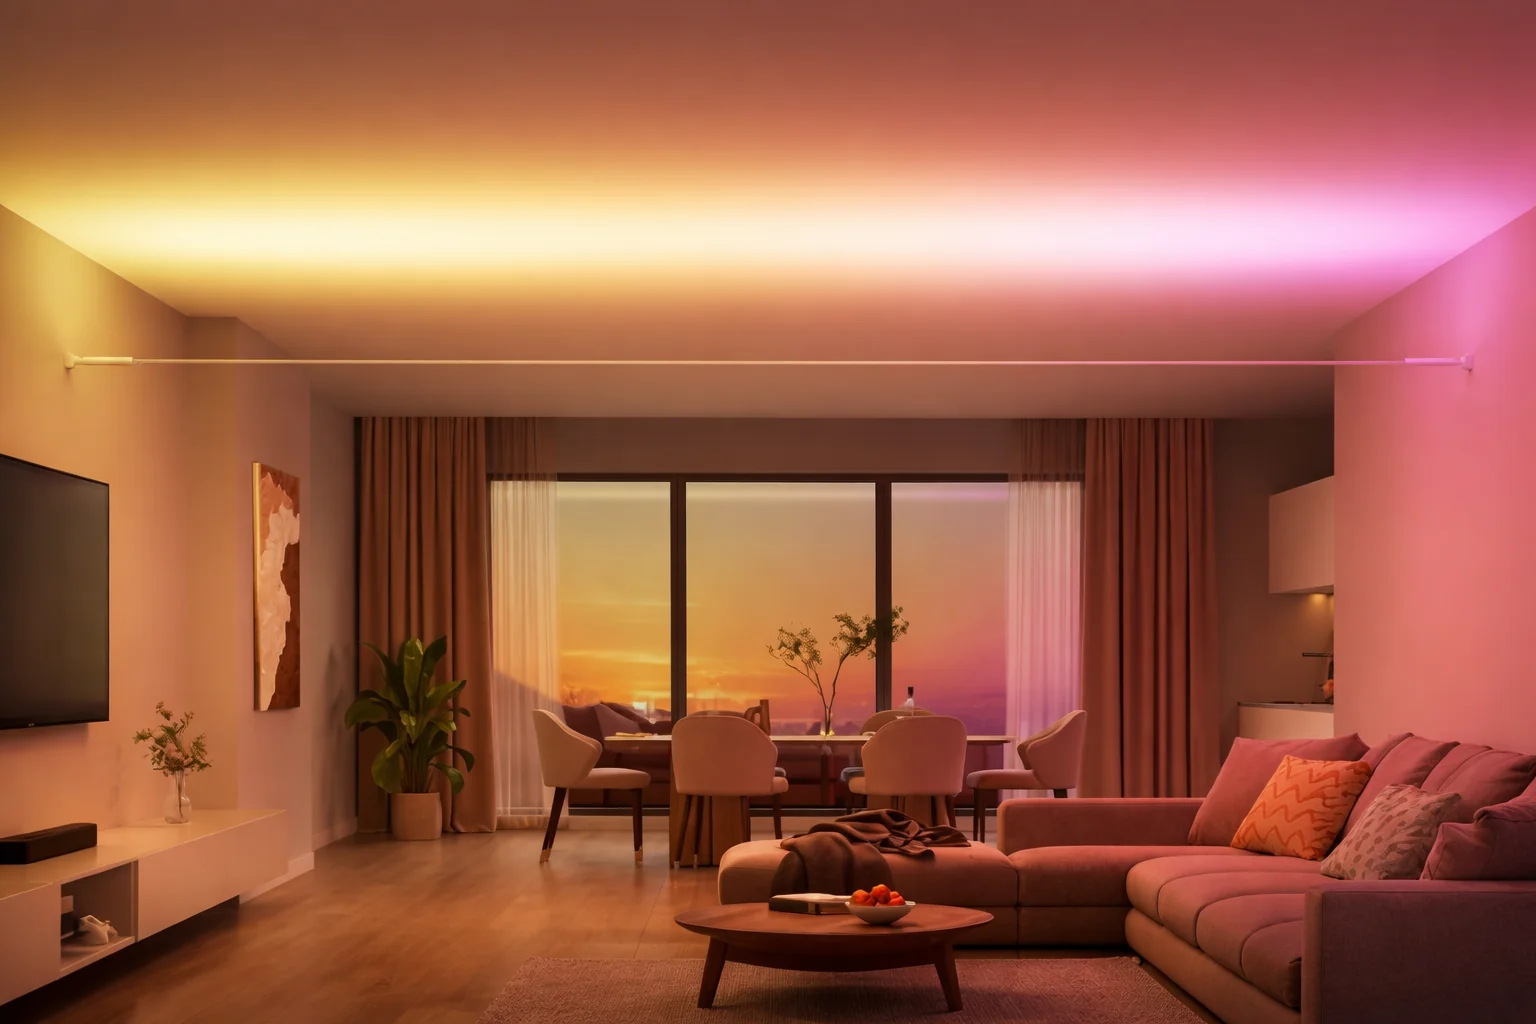
Concealed strip bouncing off the ceiling. It makes a ceiling feel higher and produces almost no glare, which is why it is the default ambient layer in Indian interiors. It is also entirely a construction decision, so it belongs on the ceiling drawing rather than in a shopping trip.
Wall lights
The most underused fixture in Indian living rooms and the fastest way to fix a flat-feeling one. They are the mid-height layer almost nobody has. An uplighting sconce bounces soft fill off the ceiling, a wall washer grazes texture. A pair flanking a sofa does more for a room than four more downlights.
Pendants and chandeliers
The statement, and the one fixture people buy first and place last. In a compact flat a slim vertical multi-drop reads better than a wide chandelier, which visually presses down on a standard ceiling.
Floor and table lamps
The easiest layer in the house to add, because they need a socket and nothing else. They are also where light at eye level comes from, which is the thing that makes a room feel occupied rather than inspected. If your plan is blocked by a landlord or a finished ceiling, this is the layer that rescues it.
Strips beyond the cove
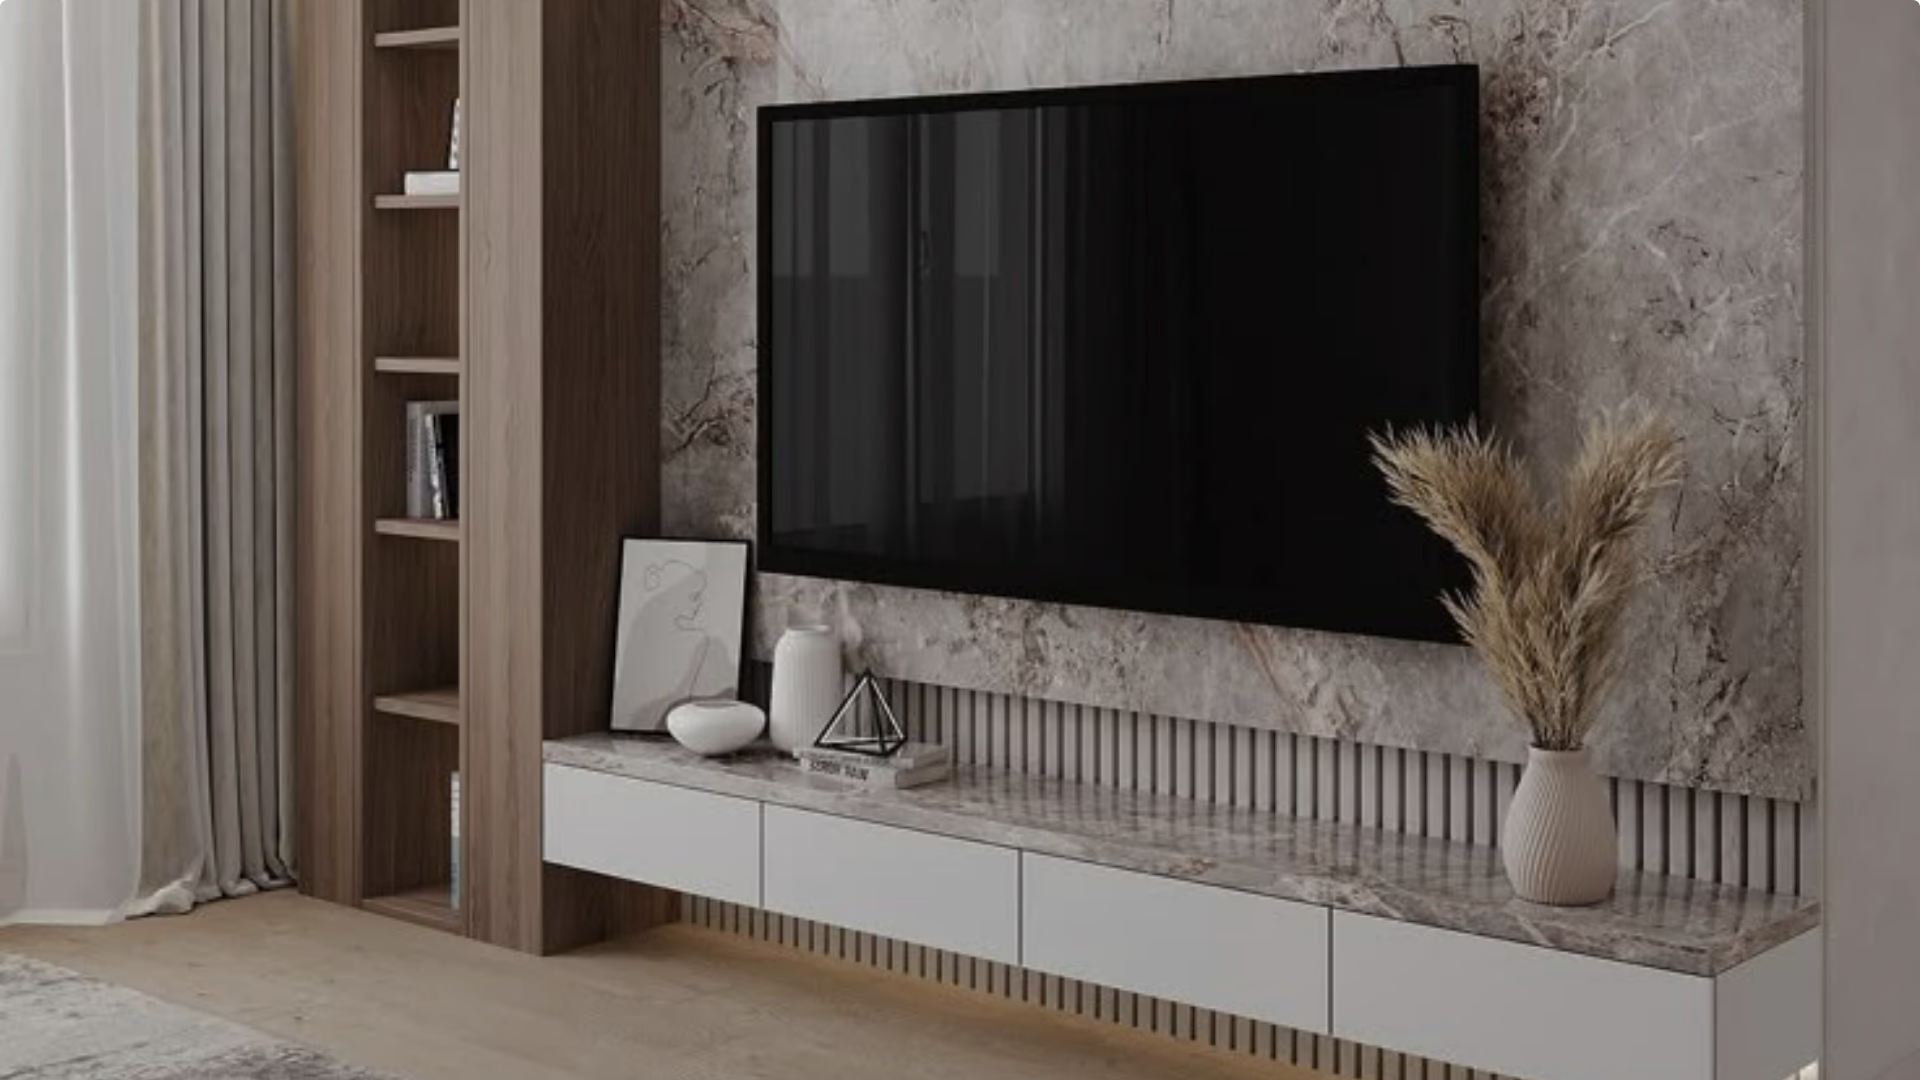
Behind a television, under a floating shelf, along the underside of a console. Bias light behind a screen genuinely takes the edge off a long evening's viewing, because the eye is not jumping between a bright panel and a dark wall.
How do you plan a small Mumbai living room?
Most of Mumbai's housing stock is 1BHK and 2BHK, and the constraints are real: a slab you cannot afford to lose height under, few walls without a door or a window in them, and often no permission to open anything up. The plan changes in five specific ways.
- Skip the full false ceiling. A shallow peripheral cove or a narrow tray keeps the height while still giving you indirect light. Dropping a full ceiling in a room that started at 2.7 metres makes it feel like a basement, and no lighting recovers that.
- Light the walls, not the floor. Wall-washing makes a small room read wider, because the eye judges size from the brightness of the vertical surfaces. Downlights aimed straight down do the opposite: they pool on the floor and leave the walls dark, which shrinks the room.
- Use vertical light. A tall floor lamp, or an uplighter, draws the eye up and buys perceived height that the ceiling does not actually have.
- Put a mirror where it can reflect a lamp or a window, not a bare bulb. It roughly doubles the apparent light from that source. Reflecting an unshaded bulb just gives you two of them to squint at.
- Warm and dimmable, always. Cold bright light in a small room is relentless in a way it is not in a large one, because there is nowhere to sit outside it.
The socket count is the constraint people hit last and hardest. If the lamp layer is doing the work, and in a small flat it usually is, mark the sockets on the same drawing as the lights. A perfect lamp position with no socket within reach is not a lamp position.
What if you cannot rewire?
Plenty of people reading this have a finished flat, a landlord, or both. The plan still works, it just gets delivered entirely through the two layers that need no wiring.
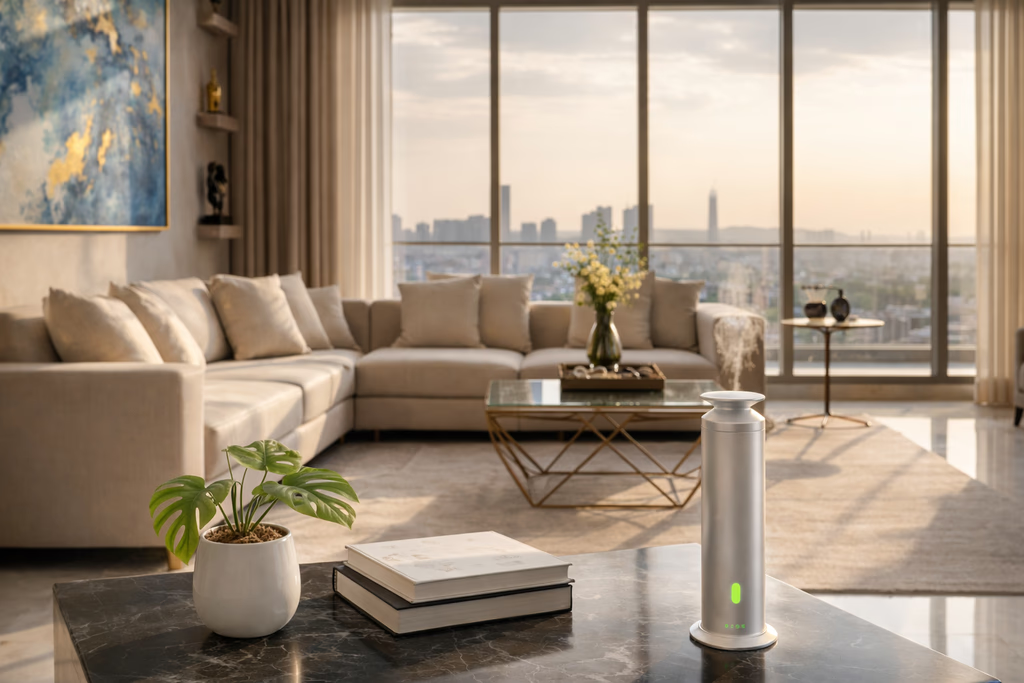
Floor lamps, table lamps and plug-in uplighters cover ambient, task and accent between them, and a switched socket or a plug-level control gives you the circuit split without touching a wall. That is a genuine three-layer scheme with a drill count of zero. Our guide to mood lighting ideas goes through the no-drill options properly, including what humidity does to adhesive-mounted LED tape, which is the one thing that catches people out here.
Worth knowing for later: an AHA system is wireless, so a driver sits inside each existing light fitting and keypads replace existing switch plates, each with a neutral at its switch box. The lights need no rewiring and no wall breaking, which is why a finished flat can be brought onto a control system without a fit-out. That does not help a tenant who cannot change a switch plate, but it does mean an owner who missed the fit-out window has not lost the option.
Which lights should sit on the inverter?
A question that almost never appears in lighting guides and comes up in every Mumbai project. Most Indian inverter setups back up selected circuits rather than the whole flat, and which circuits those are gets decided during wiring, usually by whoever is holding the cable at the time.
Decide it on the drawing instead. The useful principle is to back up one modest circuit that makes the room usable, normally the ambient layer, and leave the decorative circuits off backup. A living room running its cove and two lamps through a power cut is comfortable. A living room running twelve downlights through a power cut is a flat battery.
This matters more once lighting is controlled, because the control layer needs to be on backup too. There is no point in a lit room whose switches have no power.
Where does vaastu fit into a lighting plan?
Plenty of Indian households weigh vaastu when placing light, and it is worth saying plainly what kind of guidance it is. The common advice is that north and east are favourable directions for light, that the south-east is associated with fire and light but is not usually recommended as a living room's primary source, that warm light suits social spaces better than harsh light, and that dark unlit corners should be avoided.
This is cultural guidance rather than an engineering standard, and it should carry whatever weight your household gives it. What is worth noticing is how little it conflicts with the rest of this page. "Avoid dark corners" and "use warm light where people gather" are things a lighting designer would tell you regardless, for reasons that have nothing to do with direction. Where the two agree, follow both and lose nothing.
What changes when the layers are controllable?
Everything above works on ordinary switches, and a three-circuit living room on three switches is already a good room. The honest case for going further is narrow and specific, so here it is.
One part of it is about evenings, not convenience. The US National Institute of General Medical Sciences notes that "light and dark have the biggest influence on circadian rhythms", and Harvard Health reports that blue light at night suppresses melatonin more powerfully than other light. A room that can drop to dim, warm light after dinner is doing more than setting a mood.
A well-planned living room has eight to twelve light sources. That is the point of the plan. It is also the problem with it: nobody walks around setting eight things every evening, so in practice the room settles into whichever one switch is nearest the door, and the scheme you paid for goes unused by the third week.
Control solves that one problem, and it is worth being precise about which parts earn their place:
- Recalling the plan in one press. Ambient low, cove on, accent on the art, downlights off. That is a scene, and it is the whole argument. Theatre Mode and Hosting Mode are two of these built around a living room.
- Dimming that actually goes low. A driver that sets its own output holds a clean low level, which is where a living room spends its evening, and it avoids the flicker an old wall dimmer produces at the bottom of its range.
- Colour temperature on a schedule. Cooler for a working afternoon, warm by the evening, without anyone choosing.
- Per-fitting control rather than per-circuit. An AHA driver sits in each fitting, so two downlights on the same circuit can run at different levels. That is the difference between a dimmer and a lighting plan that can be re-cut after the ceiling closes.
What does not earn its place is colour. Saturated RGB is a party and festival tool, and most people use it twice. Dimming and colour temperature are the features that get used daily. Our smart lighting page covers what the control layer looks like in practice.
For scope: a living room lighting layer, every point dimmable and scene controlled, is around ₹65,000 as a scope estimate rather than a quote, and it moves with the number of light points, which is set by the drawing this whole article is about.
What are the five mistakes that happen on the drawing?
Not shopping mistakes. These are all made before anything is bought, which is what makes them expensive.
- Starting with a symmetrical ceiling grid. The grid gets drawn to look tidy on paper, then the sofa arrives and none of it is aimed at anything. Start from the furniture.
- Everything on one switch. The most common and the most consequential. Splitting the circuits is nearly free during wiring and nearly impossible afterwards.
- Downlights tight to the walls. They scallop hotspots down the wall instead of washing it. Pull them off, or use a fixture designed to wash.
- No mid-height layer at all. A plan with ceiling light and floor lamps and nothing between them has a visible gap in it. Wall lights are the cheapest fix and the least used.
- Buying fixtures before the plan exists. The fixture is the last decision. Deciding what each part of the room needs to do comes first, and doing it the other way round is how rooms end up designed around a chandelier somebody liked.
When should this be done, and who does what?
The moment for this drawing is while the electrical plan is still being made, before the false ceiling is built and before the switchboards are closed. In a Mumbai fit-out that window is a few weeks. Provisioning during construction, meaning the extra points, the circuit split and control wiring where it is needed, is dramatically cheaper than adding it later.
Worth being explicit about roles, because this industry blurs them. AHA does not install. Your architect or interior designer draws the ceiling, your electrician installs, mounts and wires the hardware, and AHA designs the lighting control system, specifies what each circuit has to do, supplies the drivers and controls, configures them and commissions the scenes. AHA is also deliberately not a lighting company: you choose your own fixtures from any vendor, and the smart driver goes behind them.
If you have a floor plan or an electrical drawing in front of you now, that is the moment worth using. Bring it to either experience centre, Santacruz West or Lower Parel, and the circuit split, the driver positions and the control points can be marked on it in one sitting.
What can a lighting plan not fix?
- Dark finishes. Dark walls, a dark ceiling and dark floors swallow light. The same plan in a room with light surfaces looks noticeably brighter.
- A ceiling that is too low for a cove. A cove needs depth. In a low room, lamps, wall lights and a shallow profile often beat a full false ceiling.
- A drawing nobody follows. The plan only works if the electrician wires the circuits it shows. Walk the room with them before the walls close, not after.
What do people ask us next?
How do you plan living room lighting?
Start from the furniture plan, not the ceiling. Mark where people sit, what they look at and where they walk, then place light for each of those. A lighting plan is a drawing that says what goes where, at what height and on which circuit. Fixtures are the last decision, not the first.
How far apart should living room downlights be?
Roughly 1 to 1.5 metres apart, and about half that off the wall, so somewhere near two feet. The offset matters more than the spacing, because a downlight tight against a wall throws a scalloped hotspot down it instead of washing it evenly.
How high should wall lights be mounted in a living room?
Around 1.5 to 1.7 metres from the floor, roughly 5 to 5.5 feet. Above eye level for someone standing, so the lamp is not glaring straight at them, and low enough to read as a mid-height layer rather than as a second ceiling light.
How low should a pendant hang in a living room?
Keep the bottom of the fixture at least 2.1 metres, around 7 feet, off the floor anywhere people walk. Over a coffee table, where nobody walks, it can come lower and usually should, because a pendant that is too high stops lighting the table and starts lighting the room.
How many circuits should a living room lighting plan have?
Three at an absolute minimum, and four or five is better. Ambient, accent and task should each switch separately. A room where every light is on one switch has exactly one setting no matter how good the fixtures are, and splitting the circuits is the cheapest decision on the whole plan.
Can you plan living room lighting without a false ceiling?
Yes, and in a flat with a low slab you often should. Wall lights, floor lamps, table lamps and surface-mounted fixtures cover every layer between them without losing any ceiling height, and none of them need a false ceiling to hide anything in.
Which living room lights should be on the inverter?
Decide this before the wiring is done, not after. Most Indian inverter setups back up selected circuits rather than everything, so pick one modest circuit that makes the room usable during a cut, usually the ambient layer at low output, and keep the decorative circuits off backup.
Where should the light go in a small living room?
On the walls rather than the floor. Wall-washing makes a small room read wider, while downlights pointed straight down do the opposite. Add height with a tall floor lamp, keep the light warm and dimmable, and skip the full false ceiling in favour of a shallow peripheral cove.
Does AHA design the lighting layout?
AHA designs the lighting control system and specifies what each circuit has to do, then supplies the drivers and controls, configures them and commissions the scenes. Your architect or interior designer draws the ceiling and your electrician installs and wires the hardware. AHA does not install.
A living room lighting plan is a cheap document that decides an expensive outcome. It costs an afternoon and some wiring, and it is the difference between a room with one setting and a room with several. Almost everything on this page is free to specify and nearly impossible to add once the ceiling is closed and the walls are painted.
If a floor plan or an electrical drawing is in front of you now, that is the moment. Bring it to either experience centre, Santacruz West or Lower Parel, and leave with the circuit split marked on it.
Book a free consultation →For the ceiling itself, read our guide to false ceiling and cove lighting. For what to do with the layers once they are in, see mood lighting ideas and the AHA smart lighting page.